Arduino MEGA 63 relay Web switch
This revision is from 2015/10/14 15:10. You can Restore it.
Running
for to run you need a six component:
- Arduino mega
- Arduino Ethernet shield
- micro SD card
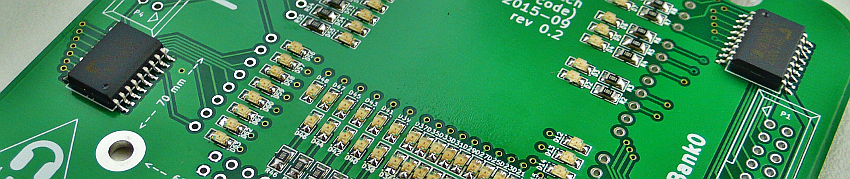
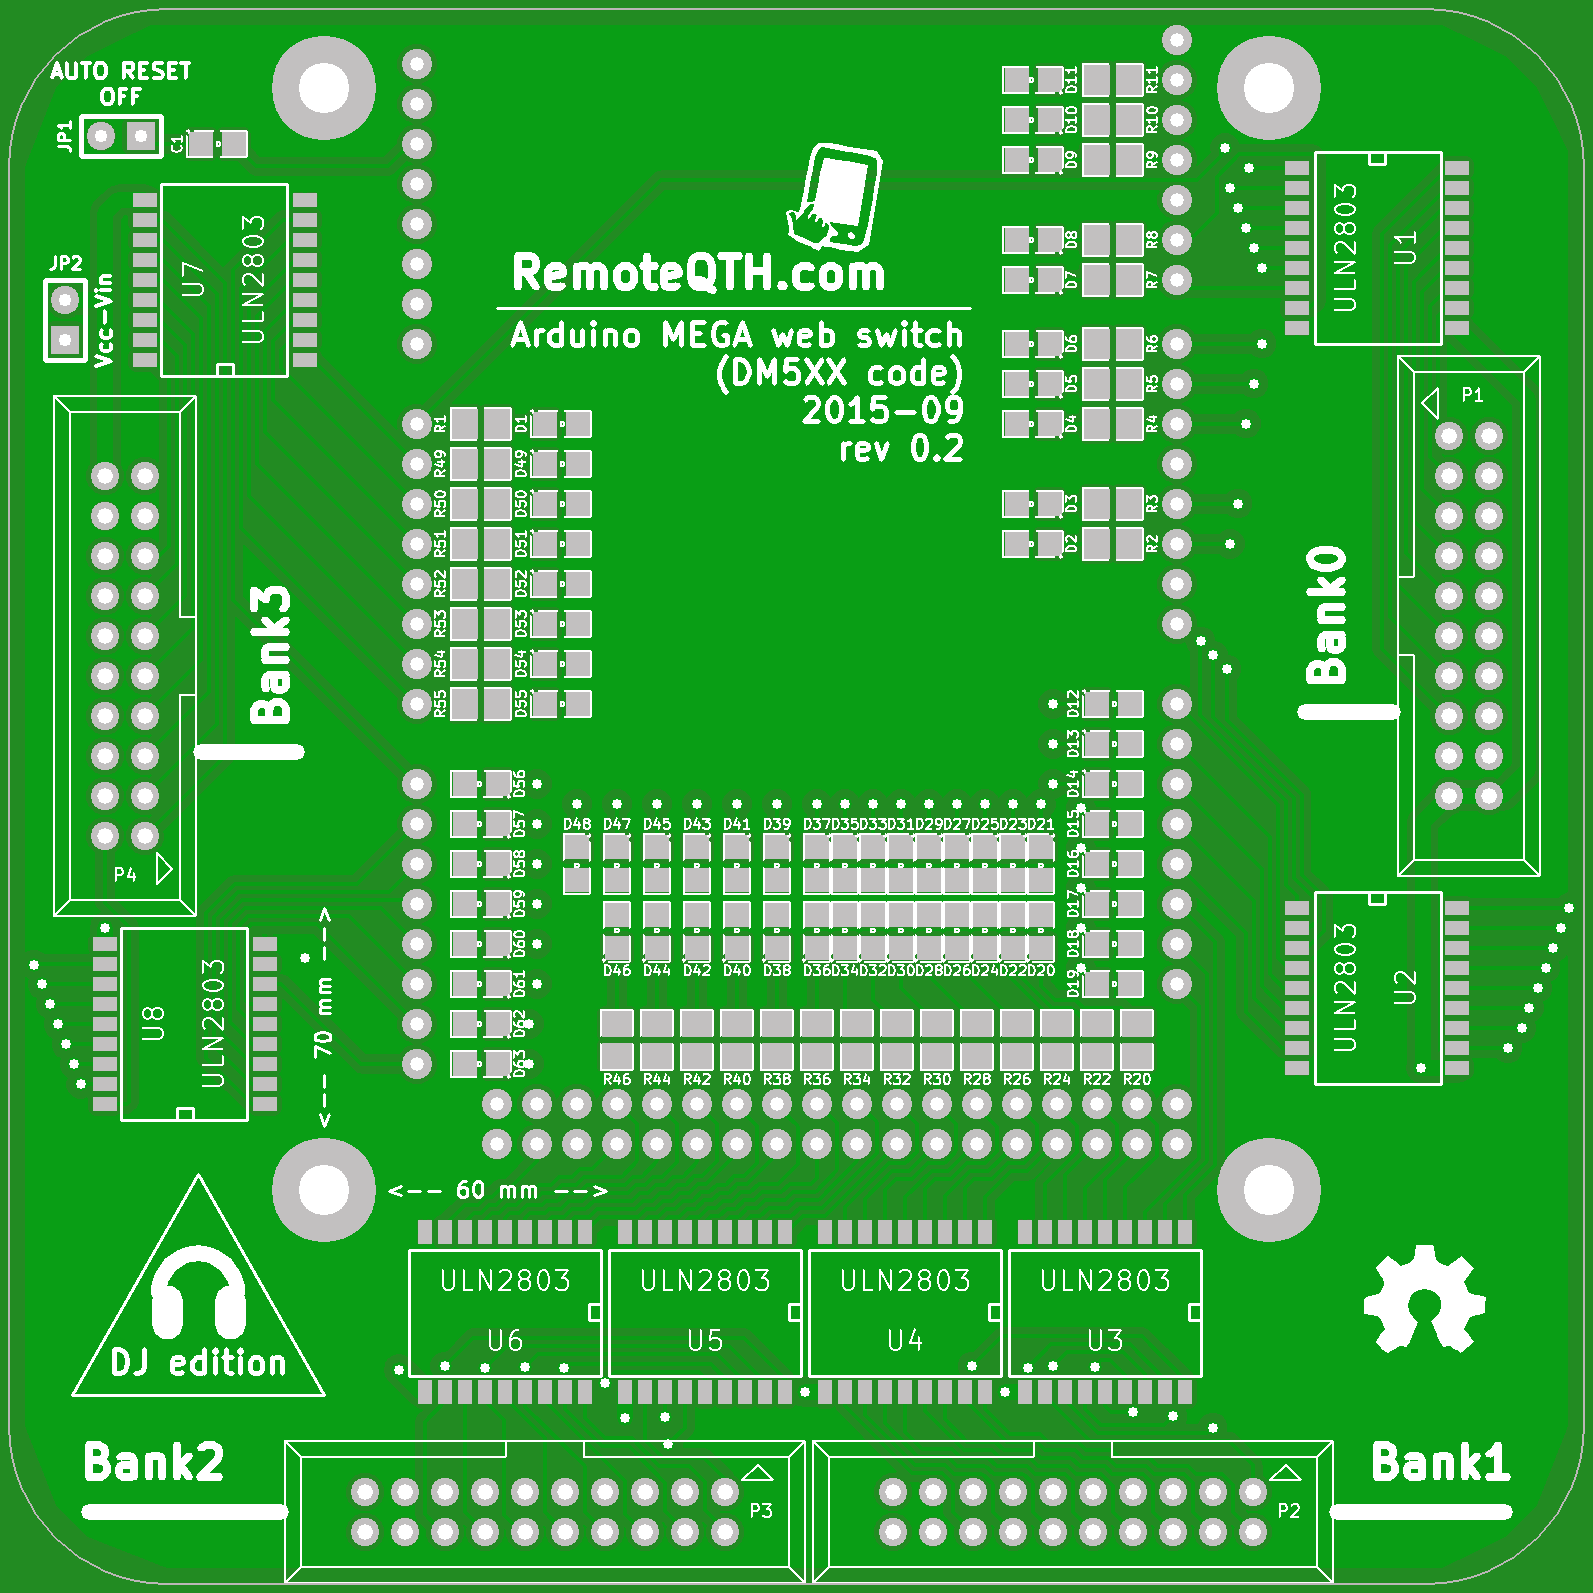
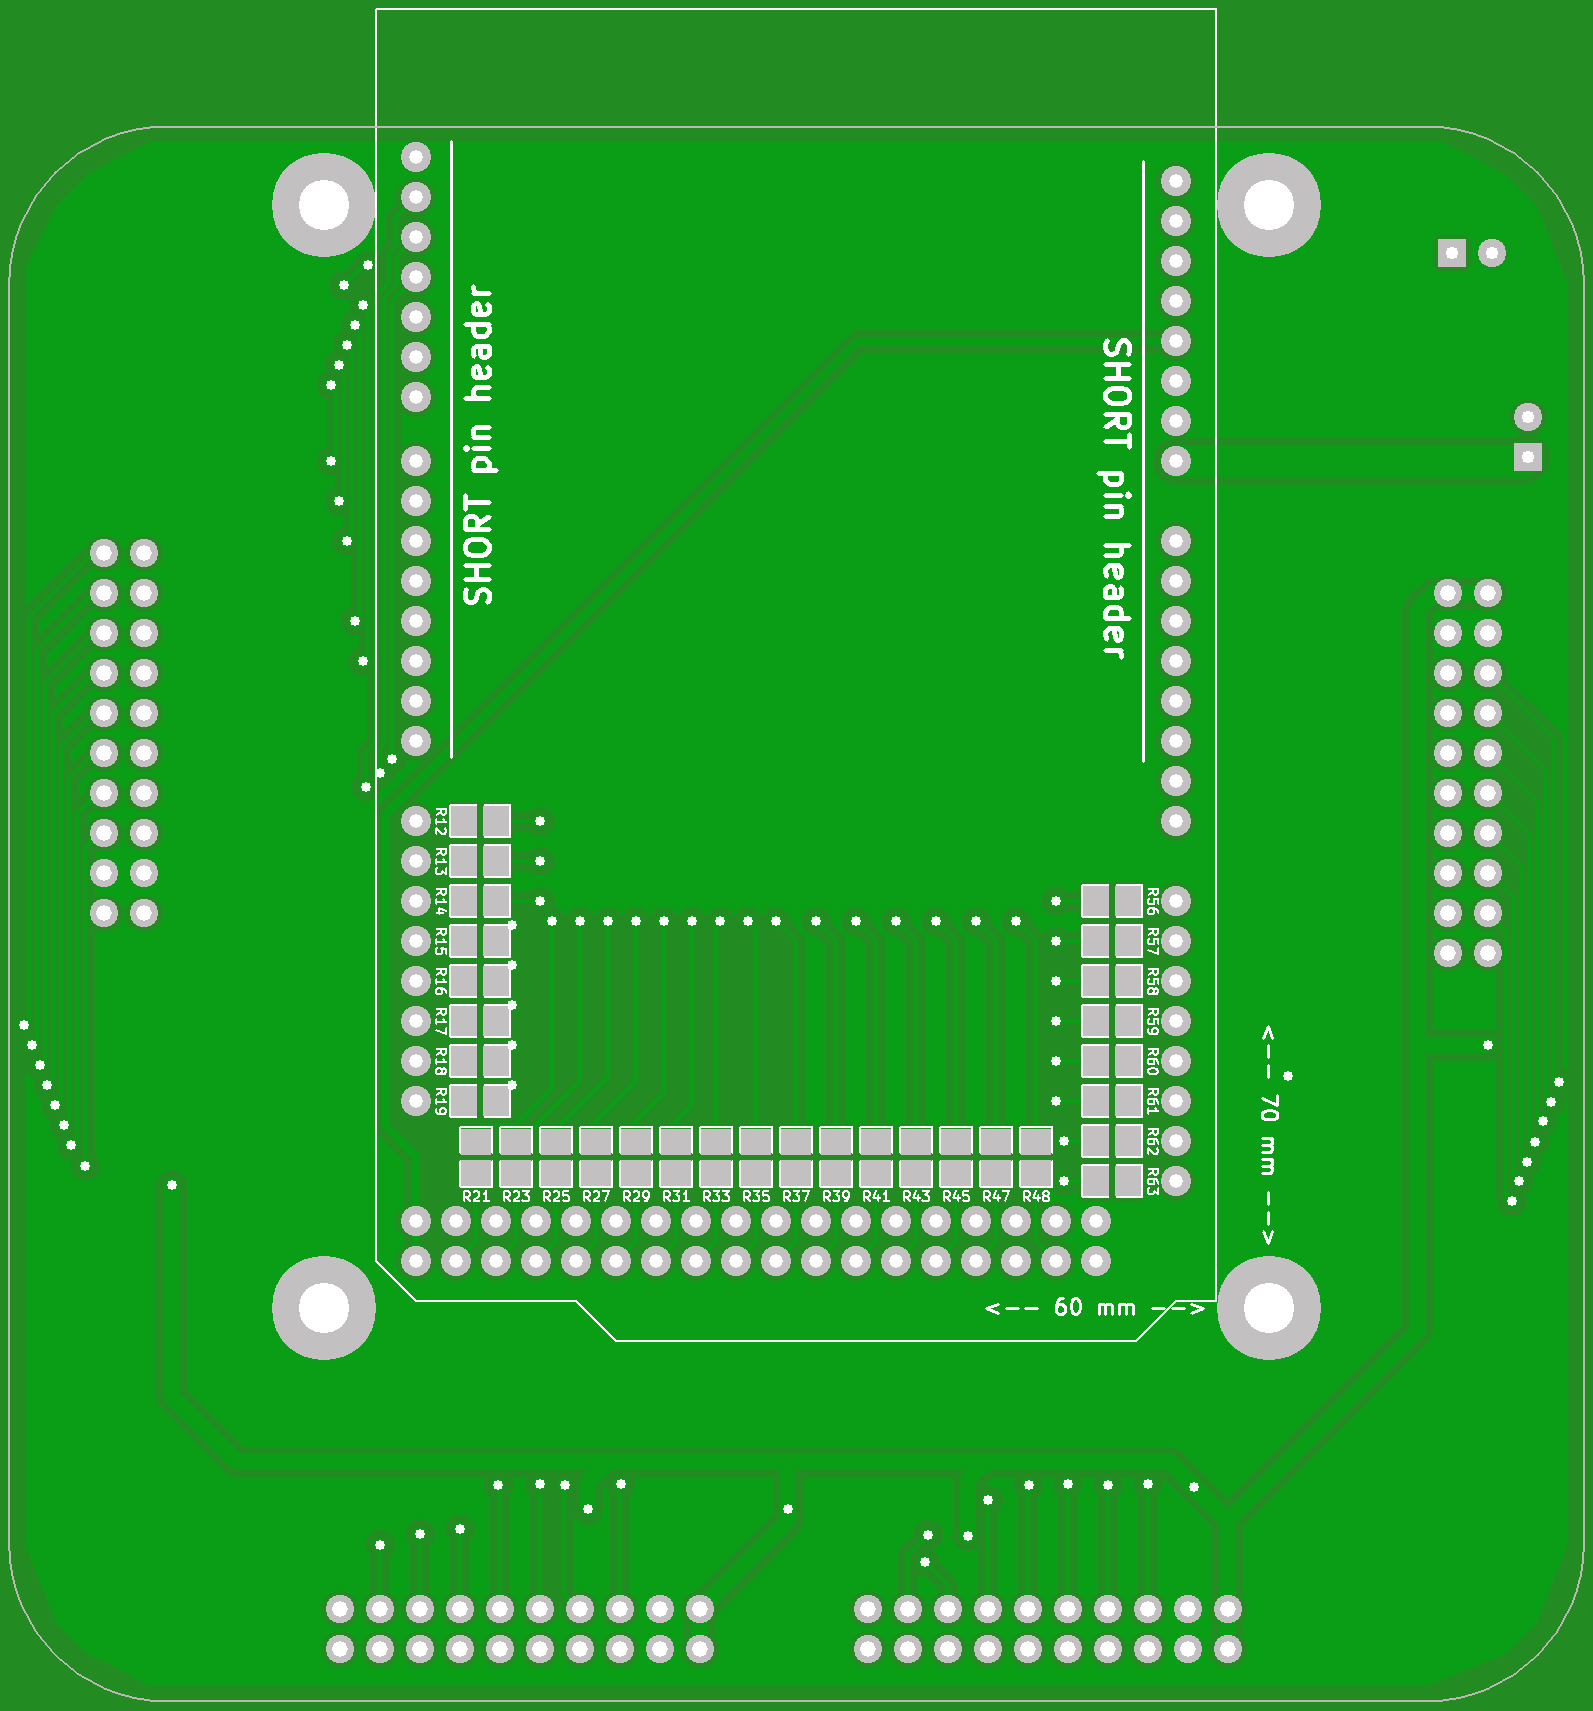
- Main board
- Power supply (5V to USB or up to 12V in DC plug)
- Four relay board controlled by grounded input (Bank0-Bank3) - MAX +50V DC / 500 mA
- Bank0 16 outputs
- Bank1 16 outputs
- Bank2 16 outputs
- Bank3 15 outputs
- micro SD card no larger than ??GB, format at FAT16 and upload ascii file config.cfg with this content
[ajaxUrl=http://192.168.1.230]
[deviceIp=192.168.1.230]
[gatewayIp=192.168.1.1]
[title=DM5XX web realy]
[jsUrl=http://remoteqth.com/dm5xx-web-relay.js]
[cssUrl=http://remoteqth.com/dm5xx-web-relay.css]
[faviconUrl=http://remoteqth.com/favicon.ico]
[dotUrl=http://remoteqth.com/dm5xx-web-relay-dot.png]
- you must configure the first three lines (IP addresses), in accordance with the settings in the Arduino firmware
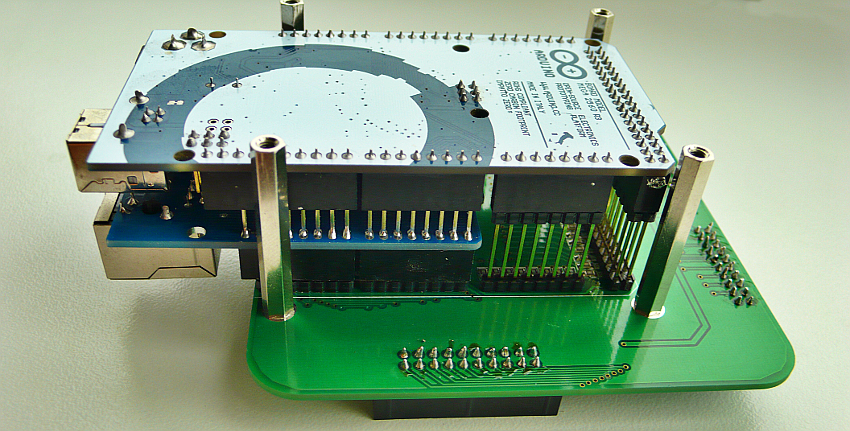
Hardware
Compose individual parts

✔ Main board + Ethernet shield + microSD card + Arduino MEGA
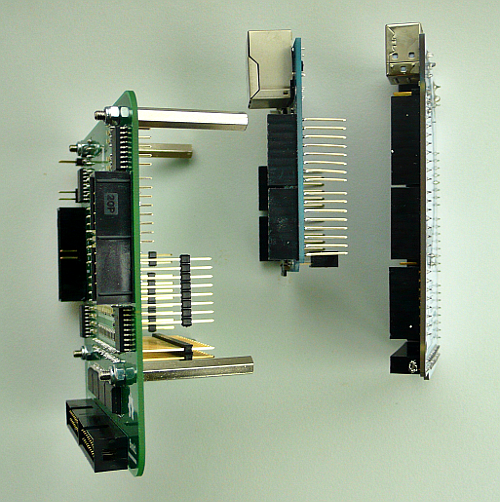
✔ How to deploy

❏
Configure jumper
- JP1 - short disable auto reset from USB (must be open at upload firmware)
- JP2 - short connect power between Arduino DC input and power on Relay board - WARNING to maximum voltage Arduino Mega
How to connect own relay

Firmware
For beginners Getting Started with Arduino
You can configure firmware from master tree GitHub
Or download preconfigured version
config.cfg copy to microSD card and plug to Ethernet shield
.ino file compile and upload to Arduino MEGA