Arduino MEGA 63 relay Web switch
This revision is from 2015/10/14 15:24. You can Restore it.
Running
for to run you need a six component:
- Arduino mega
- Arduino Ethernet shield
- micro SD card, no larger than ??GB
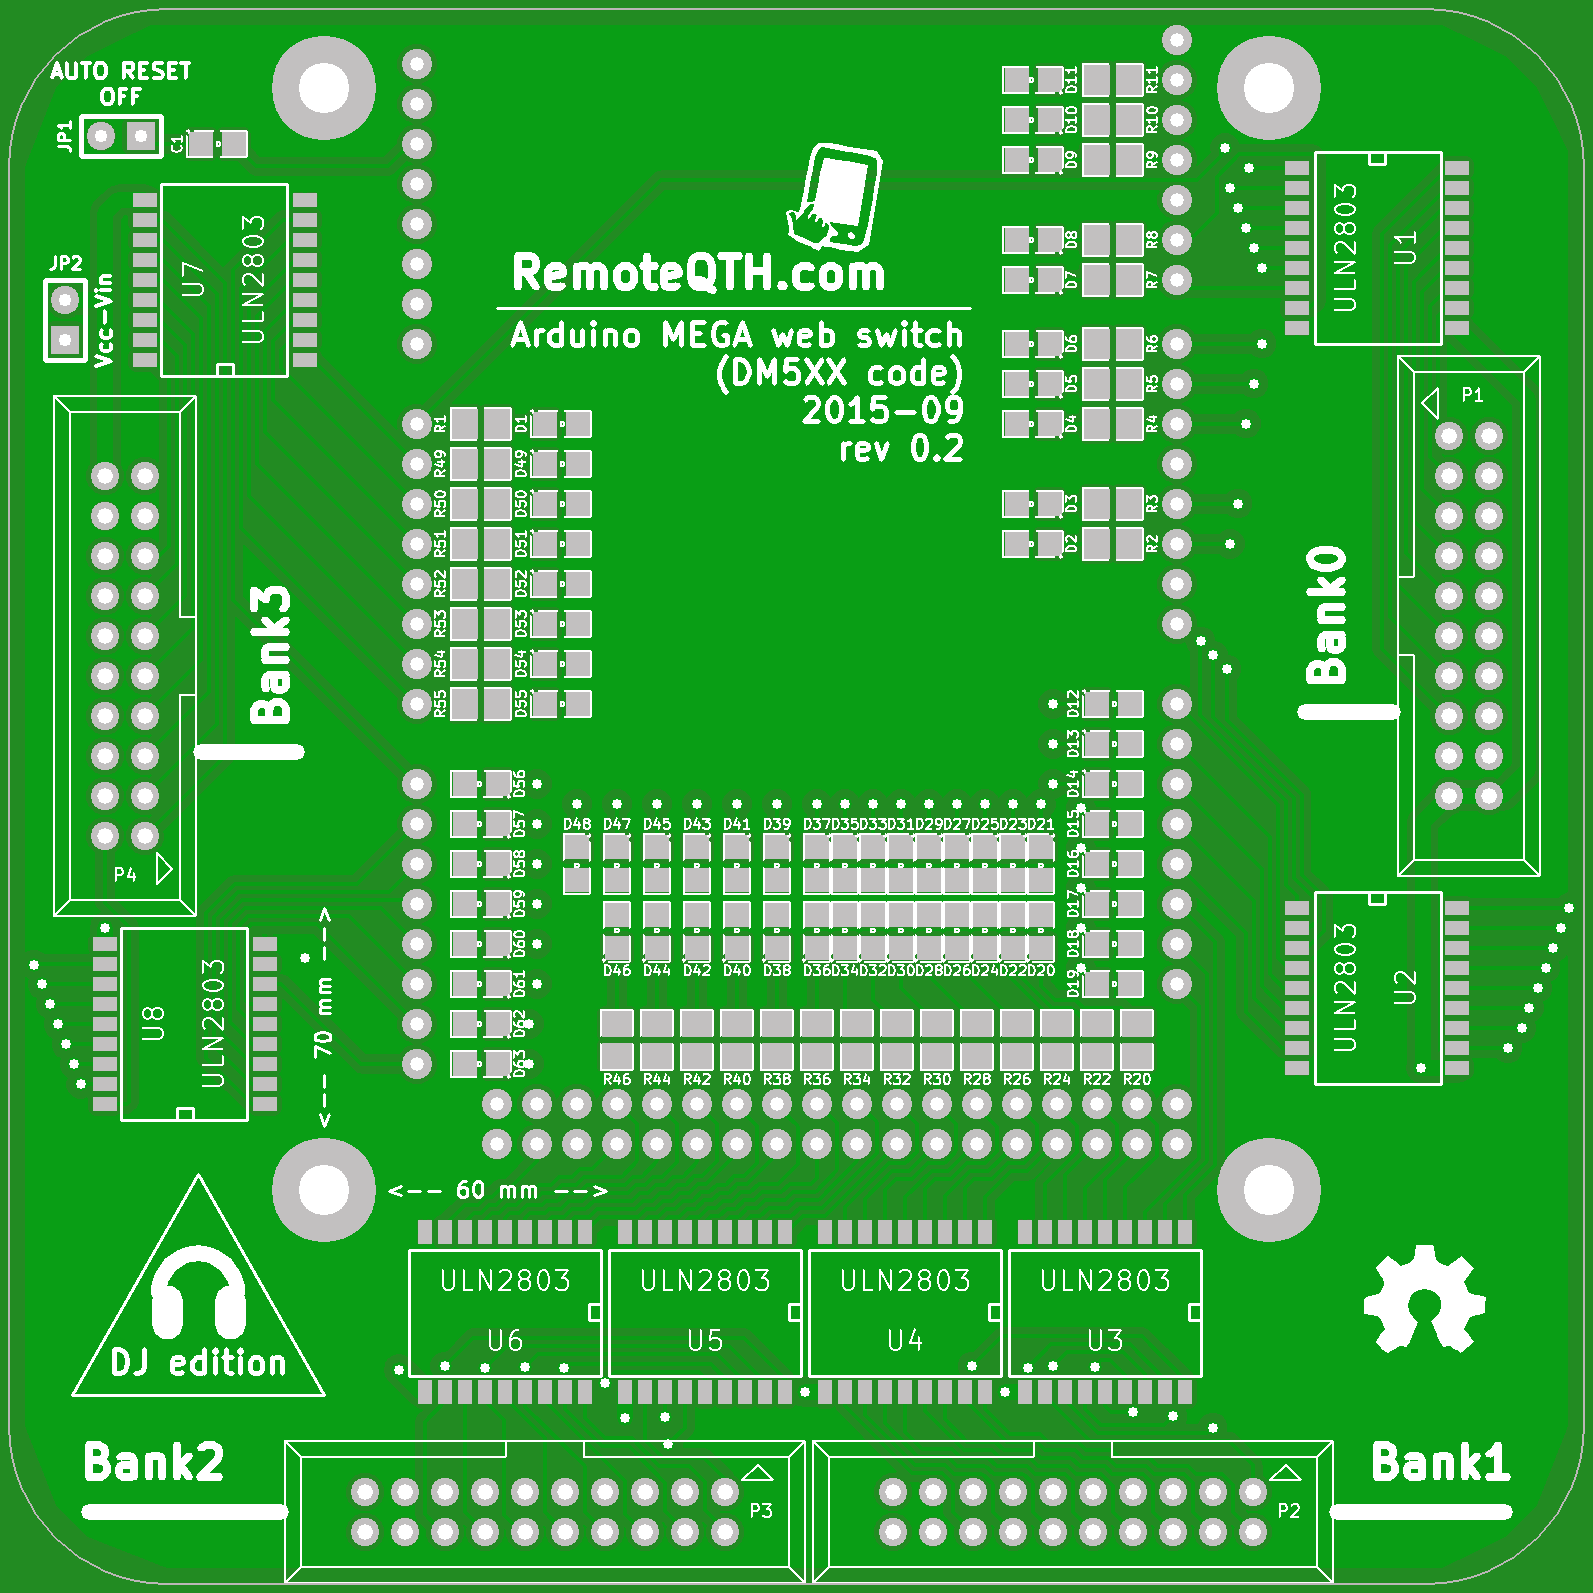
- Main board
- Power supply (5V to USB or up to 12V in DC plug)
- Four relay board controlled by grounded input (Bank0-Bank3) - MAX +50V DC / 500 mA
- Bank0 16 outputs
- Bank1 16 outputs
- Bank2 16 outputs
- Bank3 15 outputs
Hardware
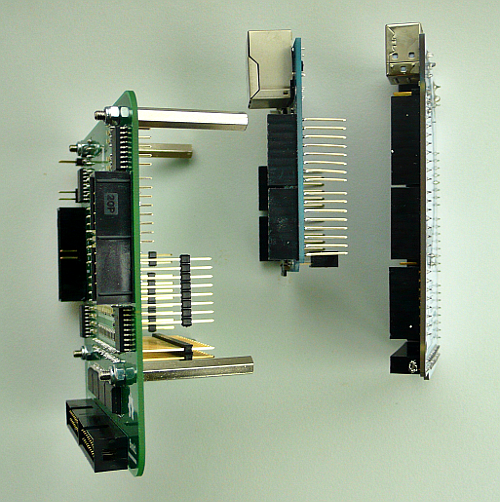
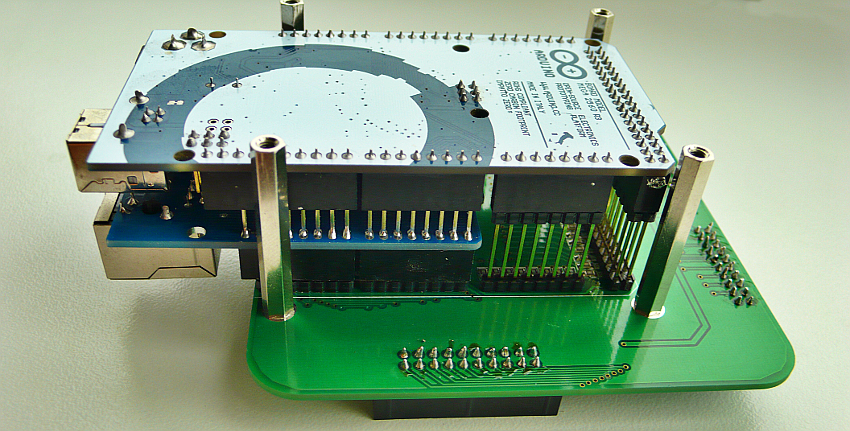
Compose individual parts

✔ Main board + Ethernet shield + microSD card + Arduino MEGA
✔ How to deploy
Before plug micro SD card, format at FAT16 and upload ascii file config.cfg with this content
[ajaxUrl=http://192.168.1.230]
[deviceIp=192.168.1.230]
[gatewayIp=192.168.1.1]
[title=DM5XX web realy]
[jsUrl=http://remoteqth.com/dm5xx-web-relay.js]
[cssUrl=http://remoteqth.com/dm5xx-web-relay.css]
[faviconUrl=http://remoteqth.com/favicon.ico]
[dotUrl=http://remoteqth.com/dm5xx-web-relay-dot.png]
you must configure the first three lines (IP addresses), in accordance with the settings in the Arduino firmware

❏ microSD plug to Ethernet shield and deployed to Arduino MEGA
❏ then connect to Main board
Configure jumper
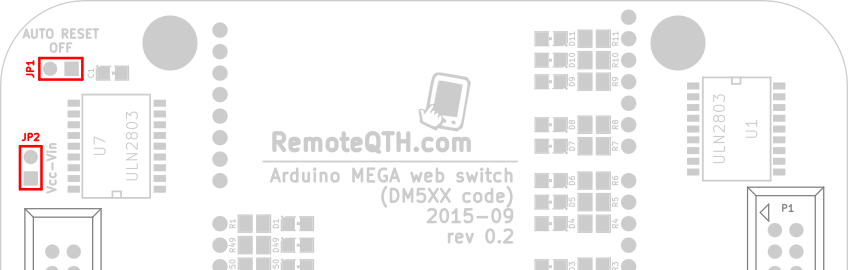
- JP1 - short disable auto reset from USB (must be open at upload firmware)
- JP2 - short connect power between Arduino DC input and power on Relay board - WARNING to maximum voltage Arduino Mega
How to connect own relay

Firmware
- For beginners Getting Started with Arduino
- You can configure firmware from master tree GitHub
- Or download preconfigured version
- 2015-10-14.zip
- config.cfg edited and copy to microSD card and plug to Ethernet shield
- Download Arduino IDE
- open.ino file, compile and upload to Arduino MEGA